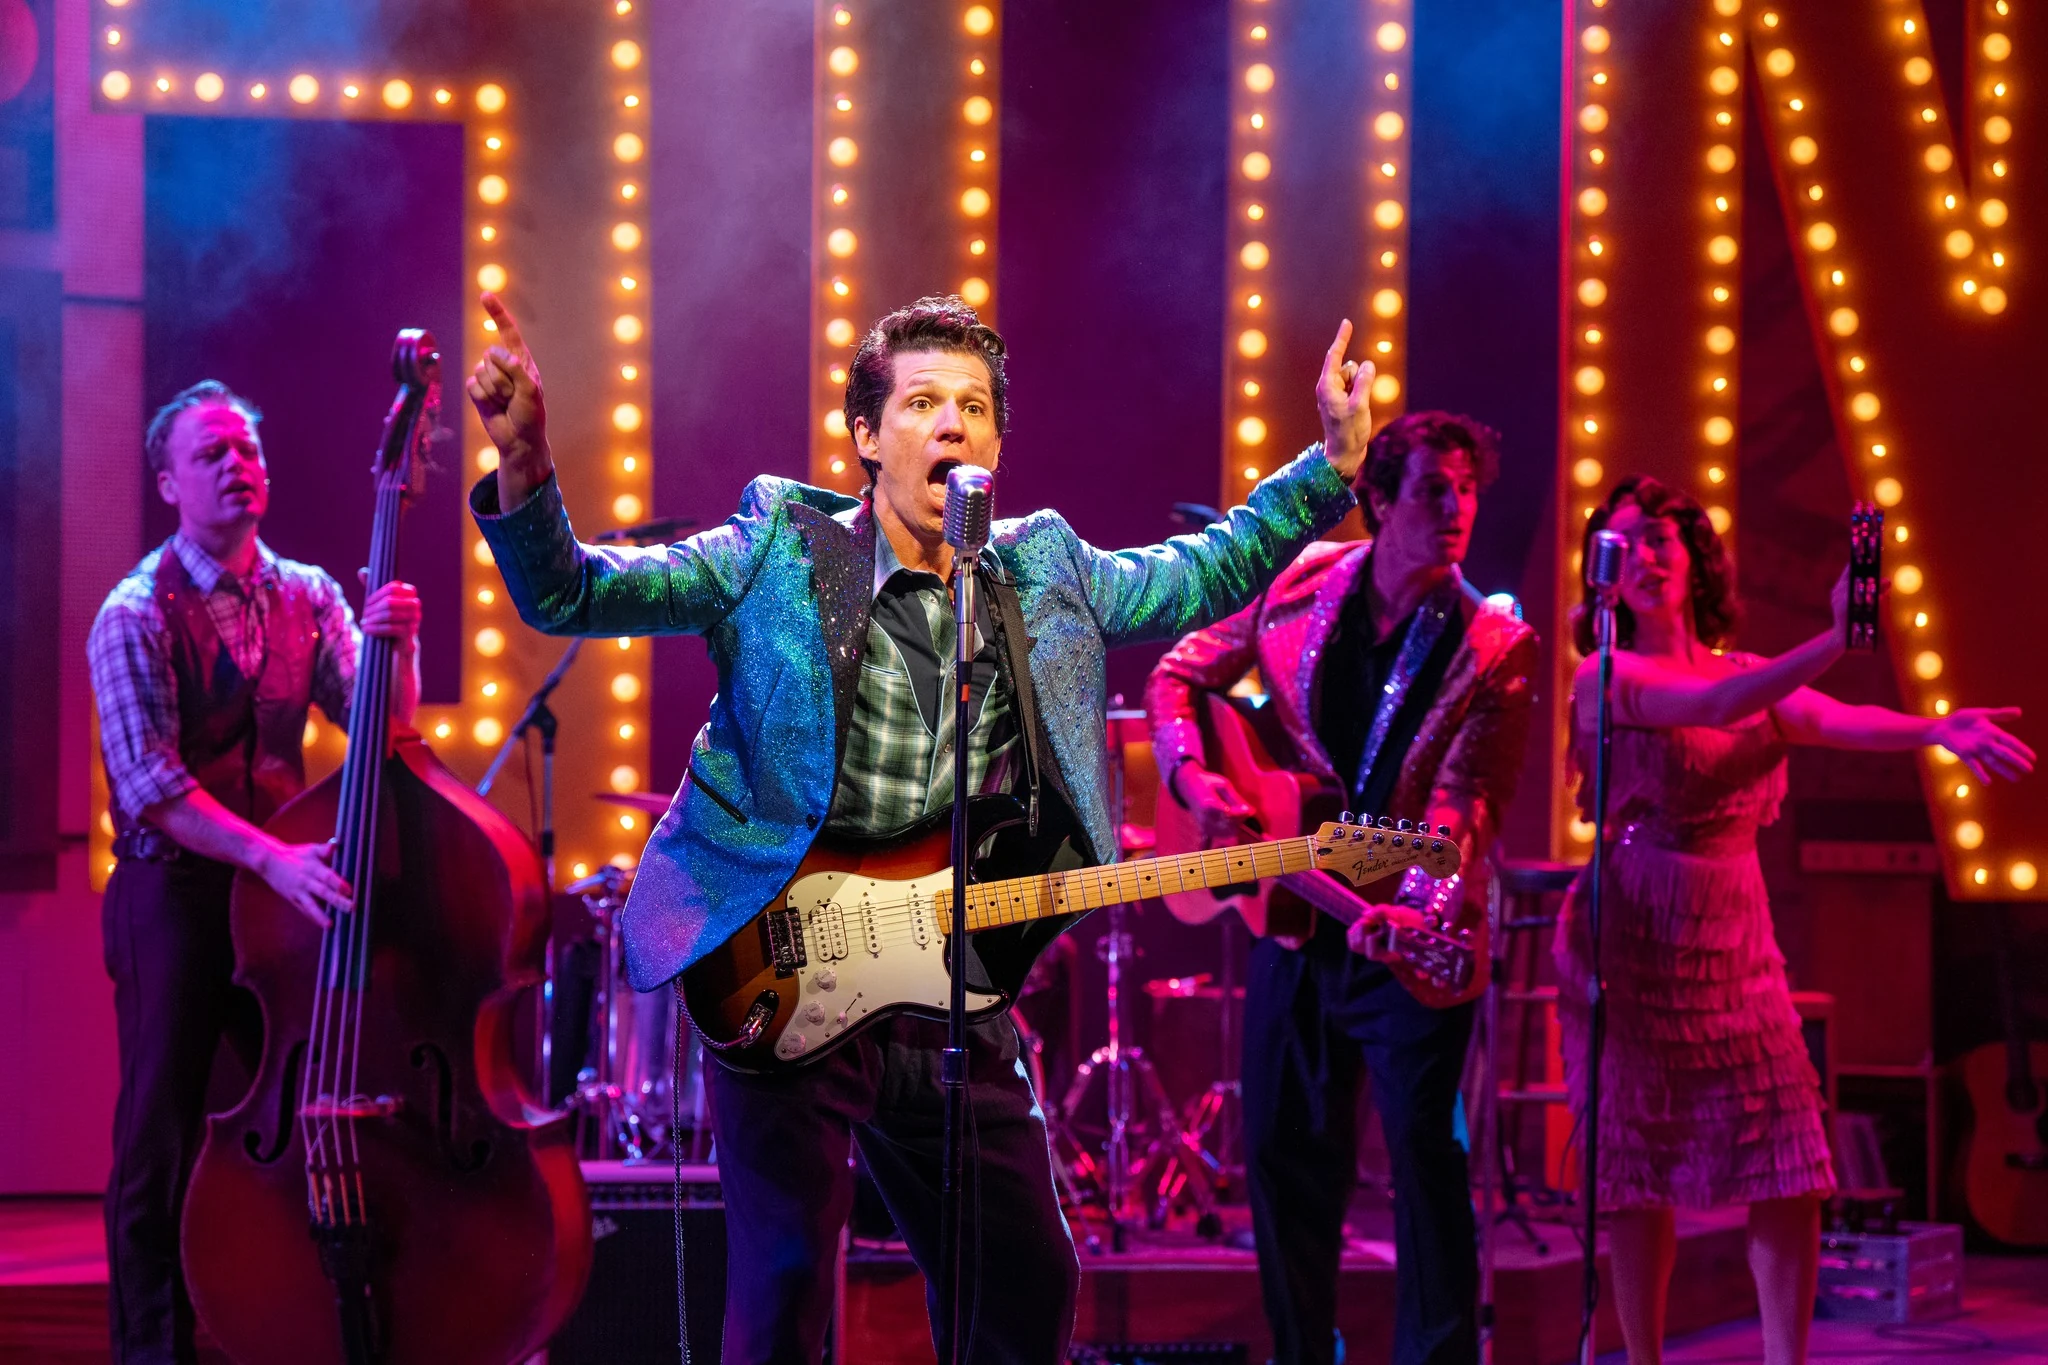

Creating a Camera and Rendering
Learn how staged lighting, camera framing, viewport linking, Renderworks styles, and export settings create a finished presentation rendering.
The rendering sequence begins with lighting because a camera cannot solve an unlit scene. Spotlights and point lights shape the model before framing begins.
The camera then becomes a composition tool. A 16:9 frame, walkthrough navigation, linked viewport, render style, and export settings turn the model into a presentation image.
Build the scene before framing it
Lighting defines what the camera will be able to reveal.
Spot and point lights have different jobs.
Use the camera as composition
Aspect ratio, view angle, and walkthrough movement shape the final read.
A camera is not only a viewport source. It is a design decision.
Render through a controlled viewport
A linked viewport lets render style and export settings be managed as part of a sheet workflow.
The final image is produced through a pipeline, not a screenshot.
Render pipeline
A rendering is staged before it is exported.
A theatrical rendering is built in sequence: light the object, frame it through a camera, render it through a viewport, then export the sheet at the right resolution.
LIGHT
Start with a readable lighting condition
Spotlights and colored point lights shape the object before the camera ever becomes useful.
CAMERA
Compose through the camera, not around it
A 16:9 camera and walkthrough framing turn the model into an intentional image.
EXPORT
Check the sheet before saving the image
The viewport, Renderworks style, page area, and export resolution all affect the final file students hand off.
Lighting
Rendering light rig
Use spotlight and point light choices to shape focus, fill, and depth in the scene.
- Spotlight focus
- Point light fill
- Classed lighting objects
Pipeline
Camera to viewport to export
Follow the rendering from camera composition into a sheet viewport and final image export.
- Set camera aspect
- Create linked viewport
- Choose render style
- Export image
One guiding idea
“A rendering is finished through a pipeline, not a single render button.”
Lighting establishes the image
The rendering process starts by giving the model a readable lighting condition. Spotlight and point light behavior shape focus, depth, and atmosphere before the camera is placed.
Without that stage, camera framing becomes guesswork. The model needs illumination before composition can make meaningful decisions.
The camera defines the viewer
A 16:9 camera frame gives the rendering a presentation format. Walkthrough movement and view adjustment then determine how the viewer enters the scenic space.
The camera is therefore part of the design language, not just a technical output tool.
Supporting material
Shortcuts
- Double-click camera
- Enter camera view
- Cmd/Ctrl + U
- Update viewport rendering
Keep in mind
- Clarify whether export settings refer to DPI or pixels in the current UI.
- Template-specific rendering sheet layers and backgrounds should be labeled as such.
Related resources
Potential exam questions
Apply the workflow to a drawing problem. Use these cards for study or discussion, then revisit the demonstration when you need context.
Question 1 of 2
The placed camera’s first view does not frame the scene well. Which navigation tool does the lesson recommend for adjusting that view?
- Reshape
- Flyover as the only option
- Rotate Plan
- Walkthrough
The camera rendering needs to fit the widescreen presentation format demonstrated in the lesson. Which camera setting is adjusted first?
- Viewport annotation scale
- Aspect ratio to 16:9
- Sheet title block margins
- The texture’s image size
Continue reading
Related articles
Tools & Technology
How to Create Trim Profiles in Vectorworks Using the Polyline Tool
Tools & Technology
Publishing Vectorworks Renderings for Presentation

Tools & Technology