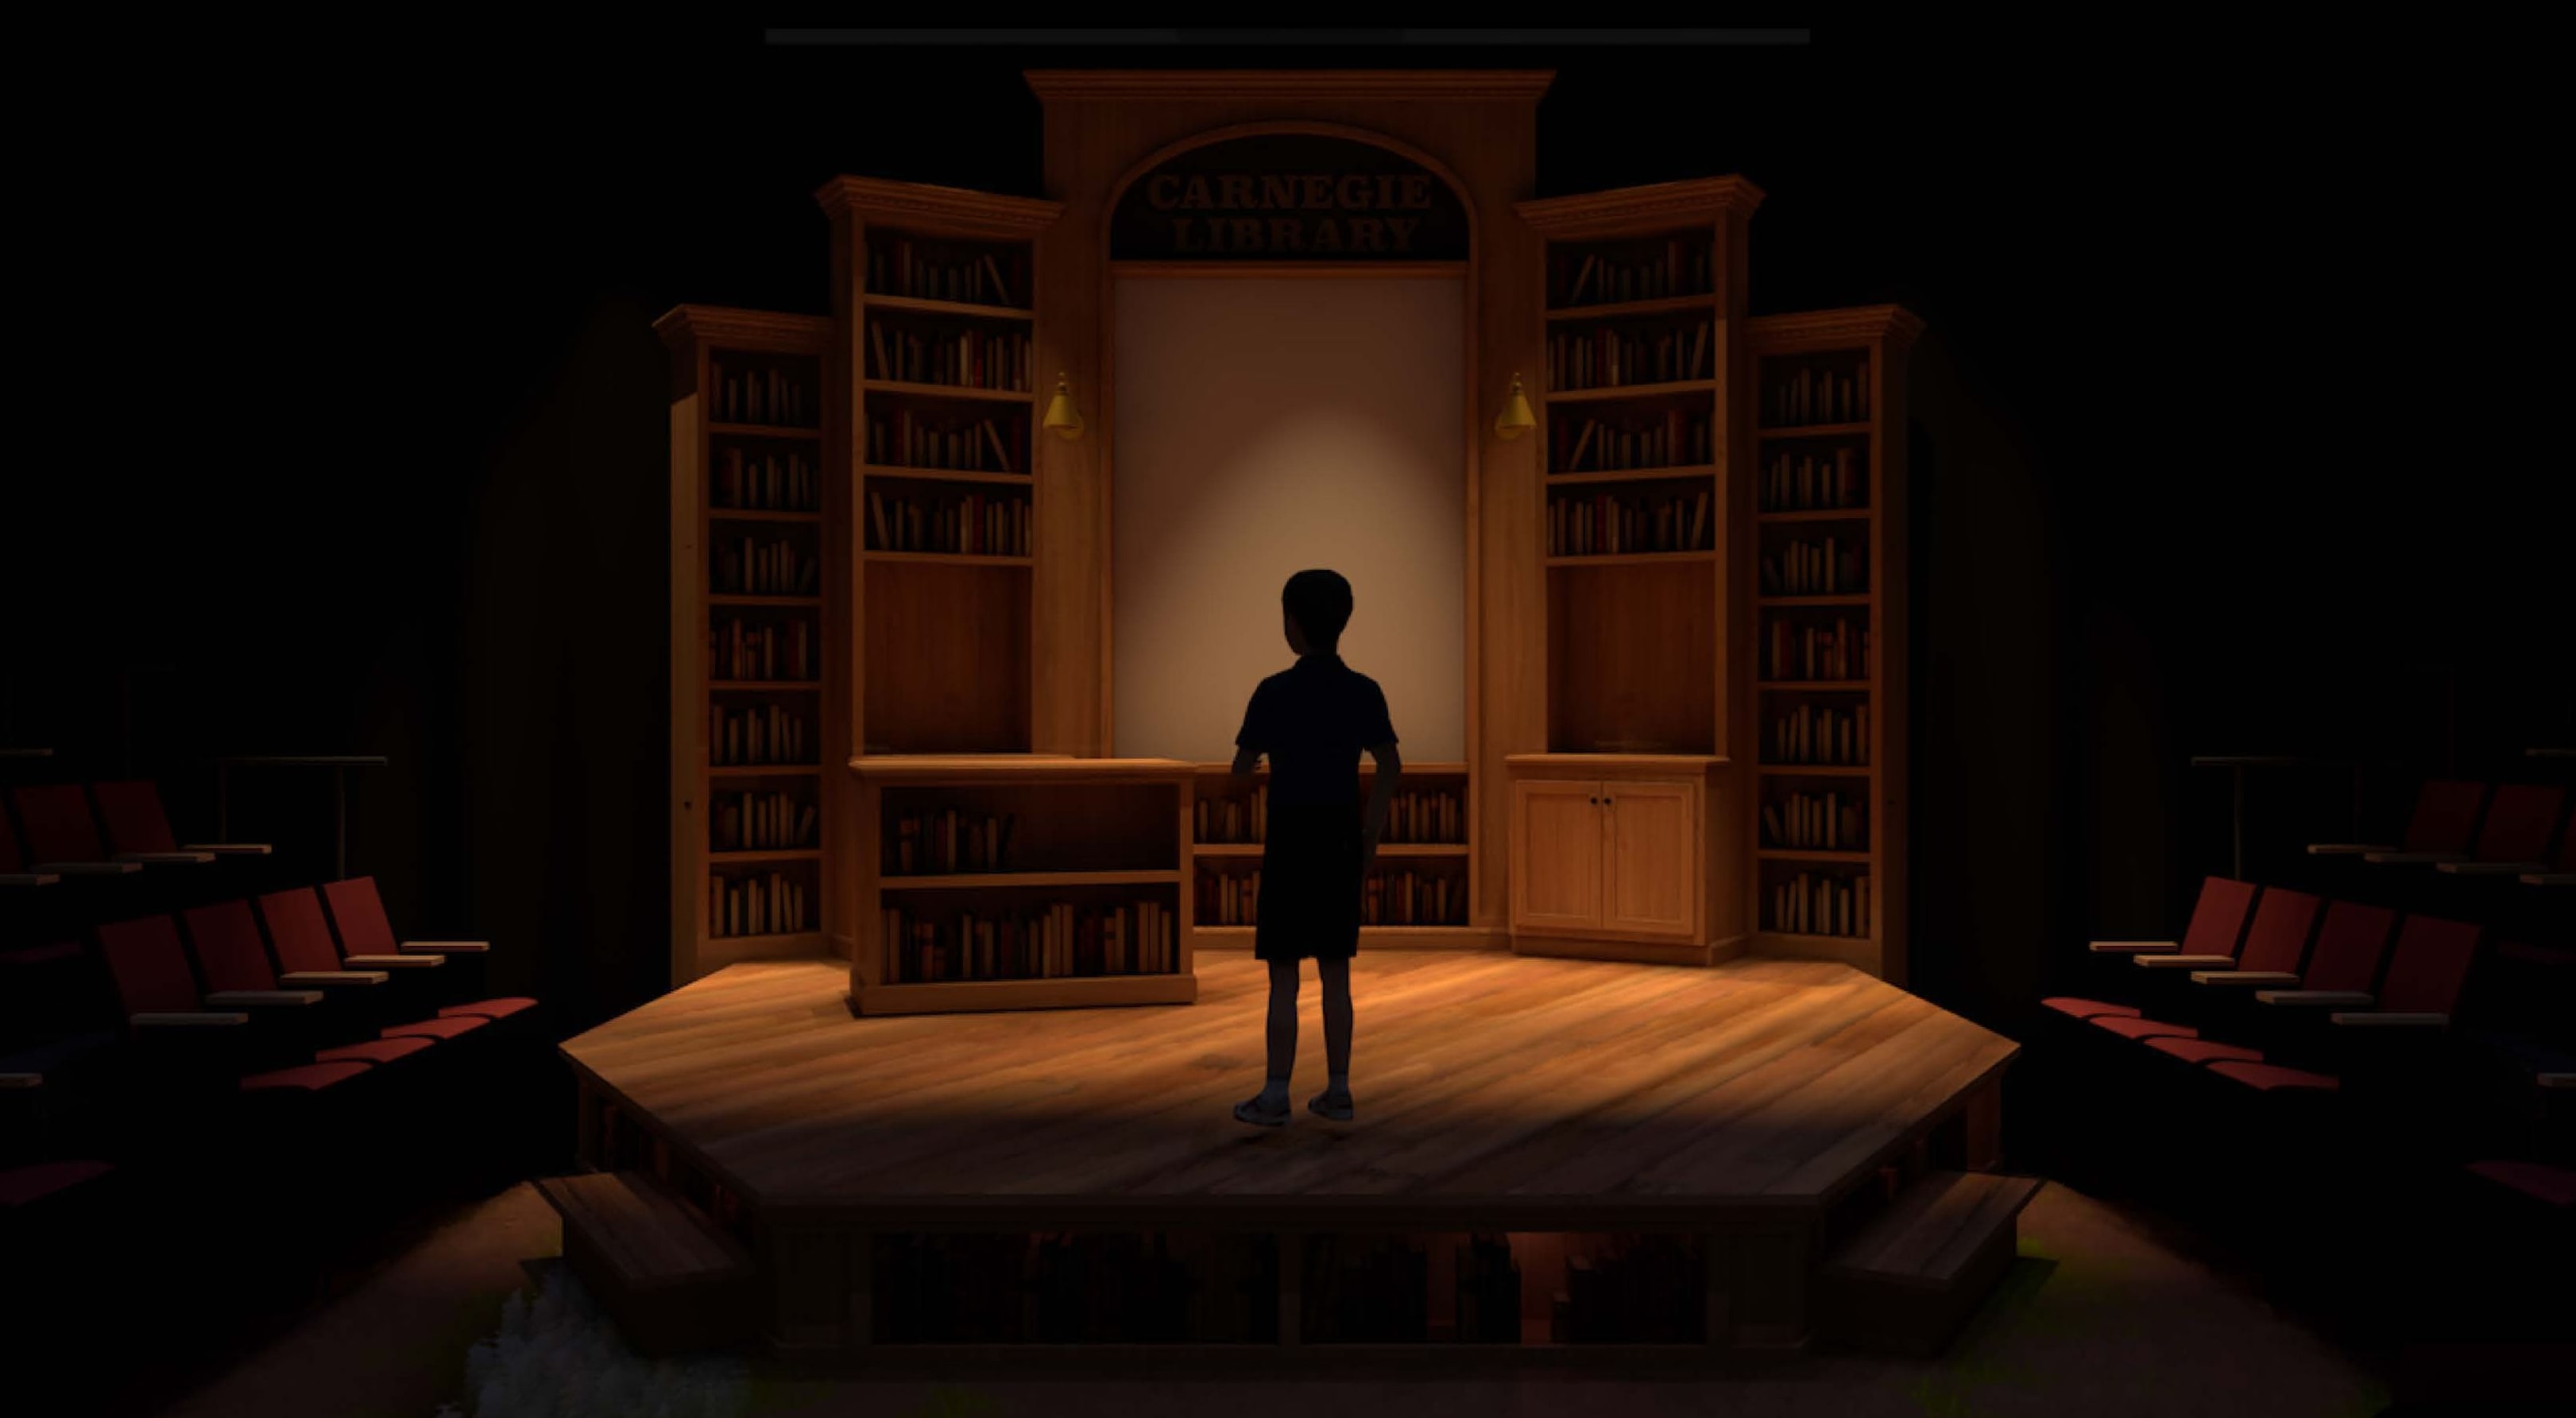
A rendering is not finished when the viewport completes. It is finished when the image can be reviewed, shared, printed, revised, and understood by the people who need it.
Publishing from Vectorworks should preserve the design work without keeping every final image trapped as a heavy live viewport. The workflow is simple: render from a controlled viewport, publish at presentation size, and move into Photoshop only when the rendering needs final image treatment.
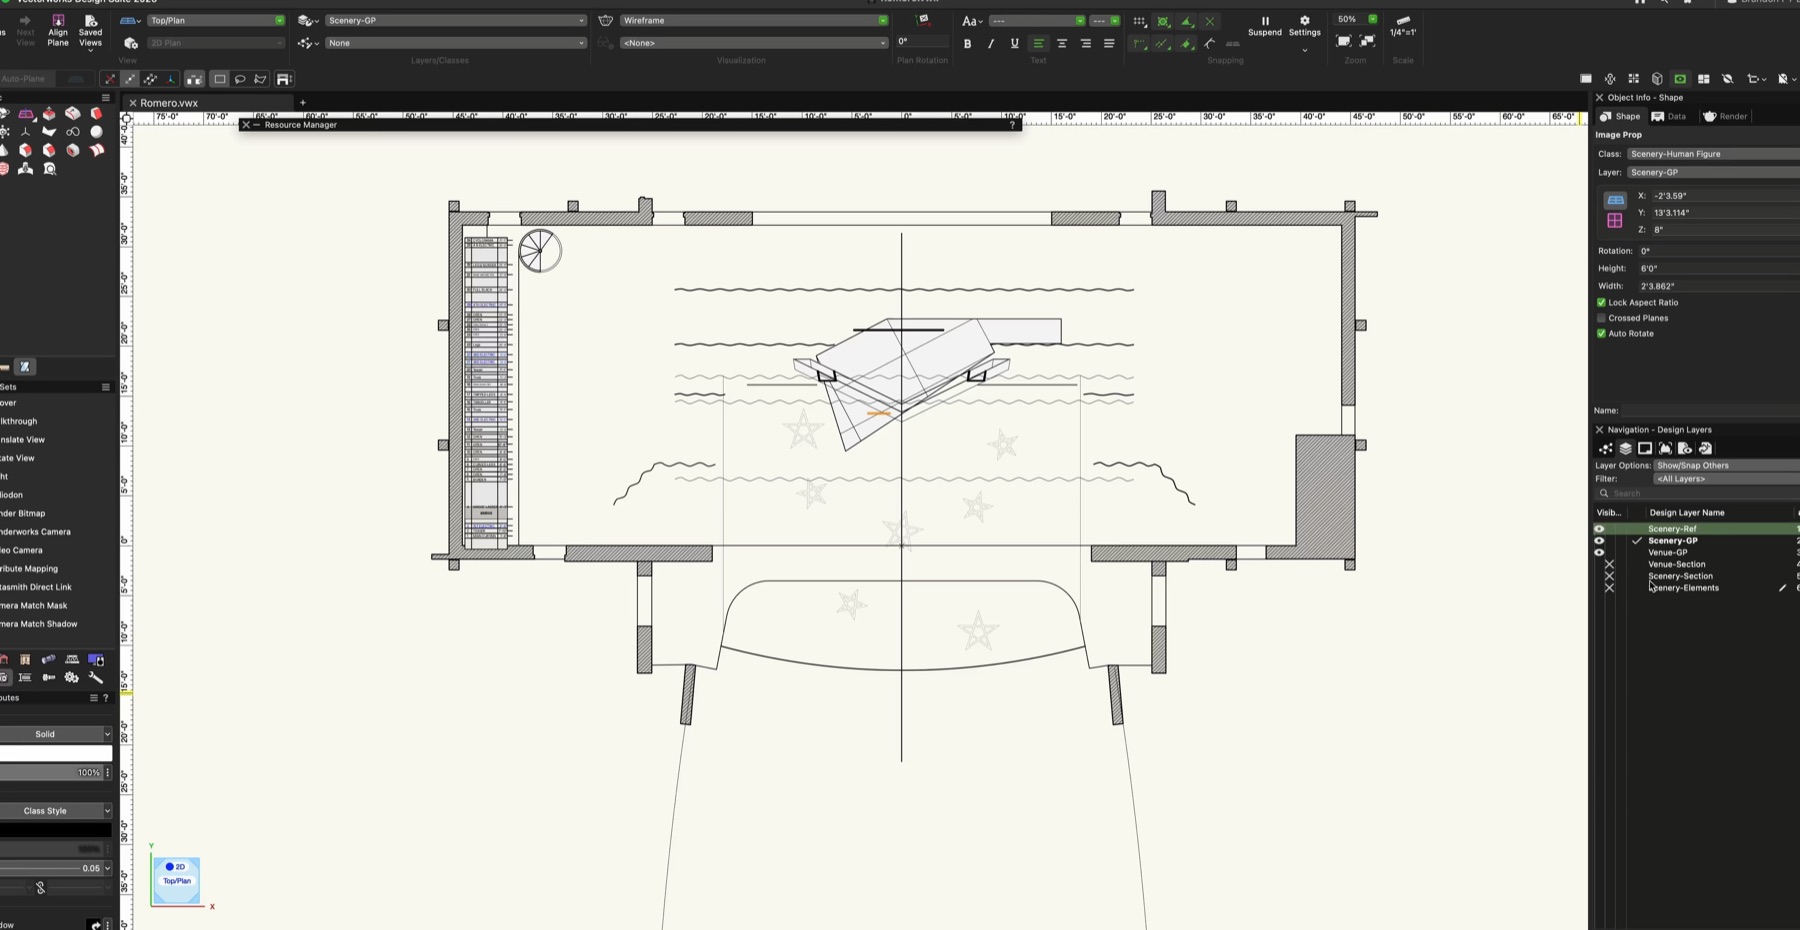
Publish from the rendering viewport
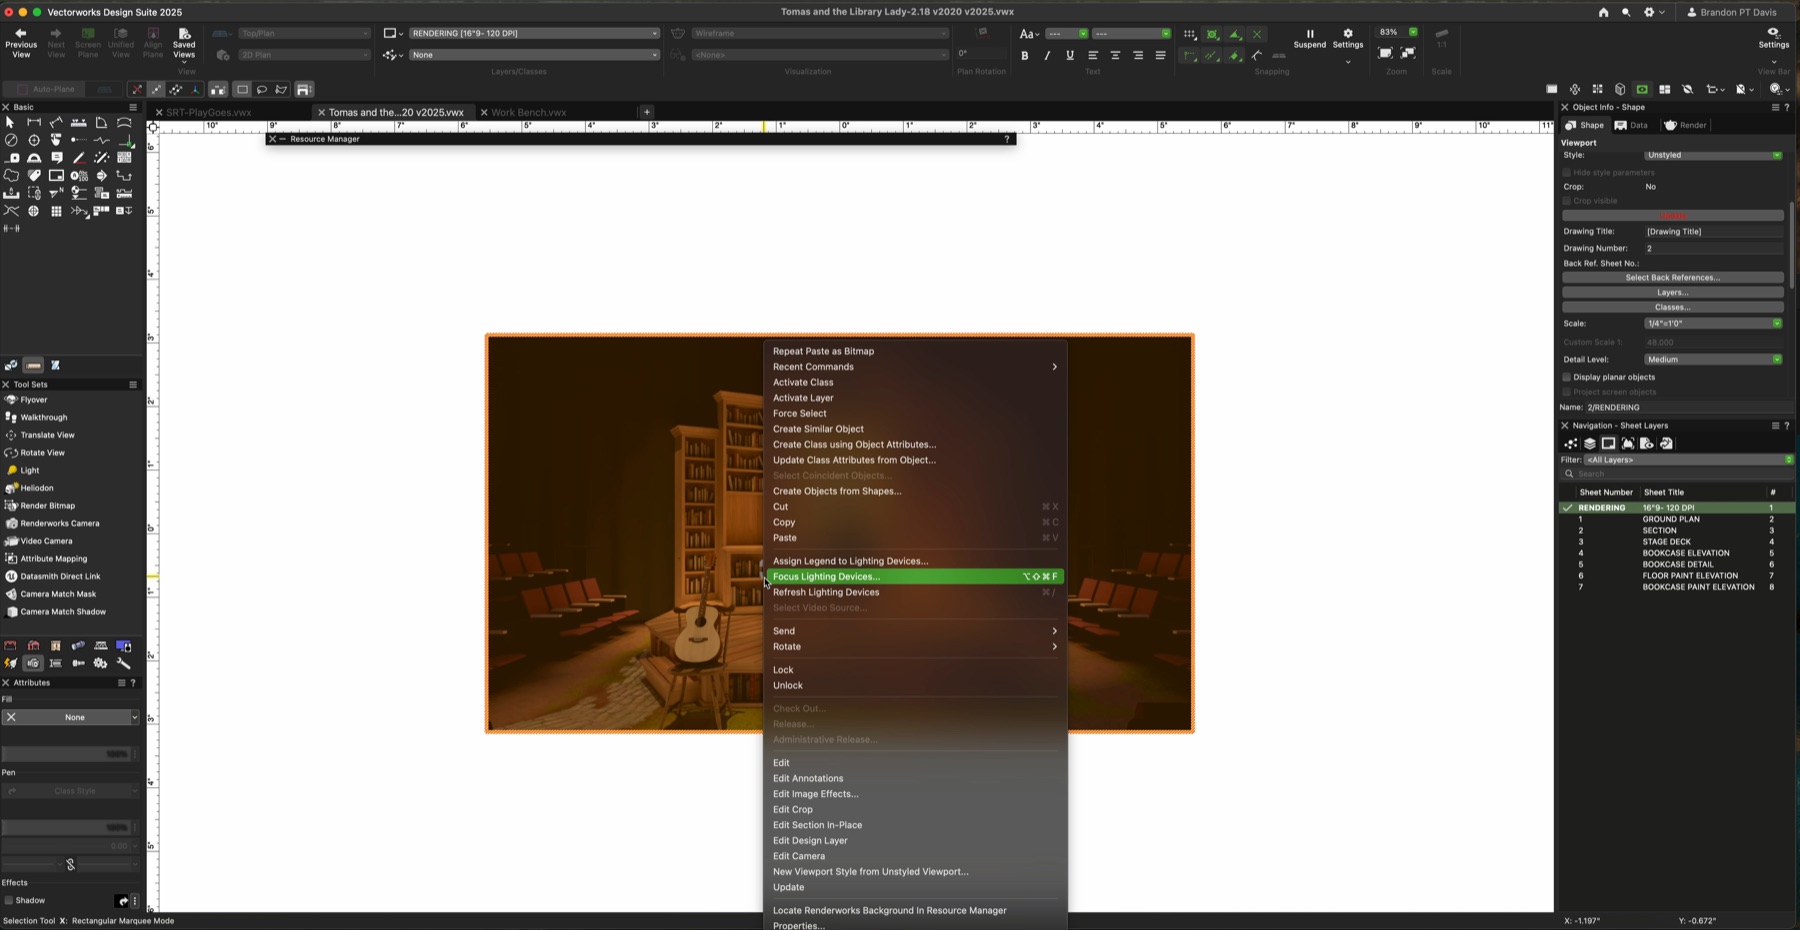
Once the rendering is complete, go to File > Publish and add the rendering viewport to the publish queue. The viewport should already have a clear name so it is easy to identify among plans, sections, elevations, and other sheets.
In the publish settings, choose Image from the dropdown for the rendering viewport. That tells Vectorworks this output is not a PDF sheet for construction. It is an image file for presentation.
Set the output size intentionally
The lecture workflow uses 24 x 36 inches at 300 DPI for high-quality output. That is large enough for presentation boards and gives Photoshop enough image information for final color, value, and atmosphere adjustments.
JPEG is usually appropriate for compressed sharing and quick review. TIFF is stronger when the image needs more editing headroom or when compression artifacts would be a problem. The choice should match how the rendering will be used next.
Move to Photoshop after the render has done its job
Vectorworks should solve the model, camera, material, and lighting logic. Photoshop can refine the image: color balance, contrast, subtle haze, figure integration, and the small atmospheric choices that help the rendering feel less mechanical.
The important boundary is this: do not use post-processing to hide a broken setup. Use it to finish an image whose structure is already clear.
A published rendering should be light enough to share and clear enough to make the next conversation better.