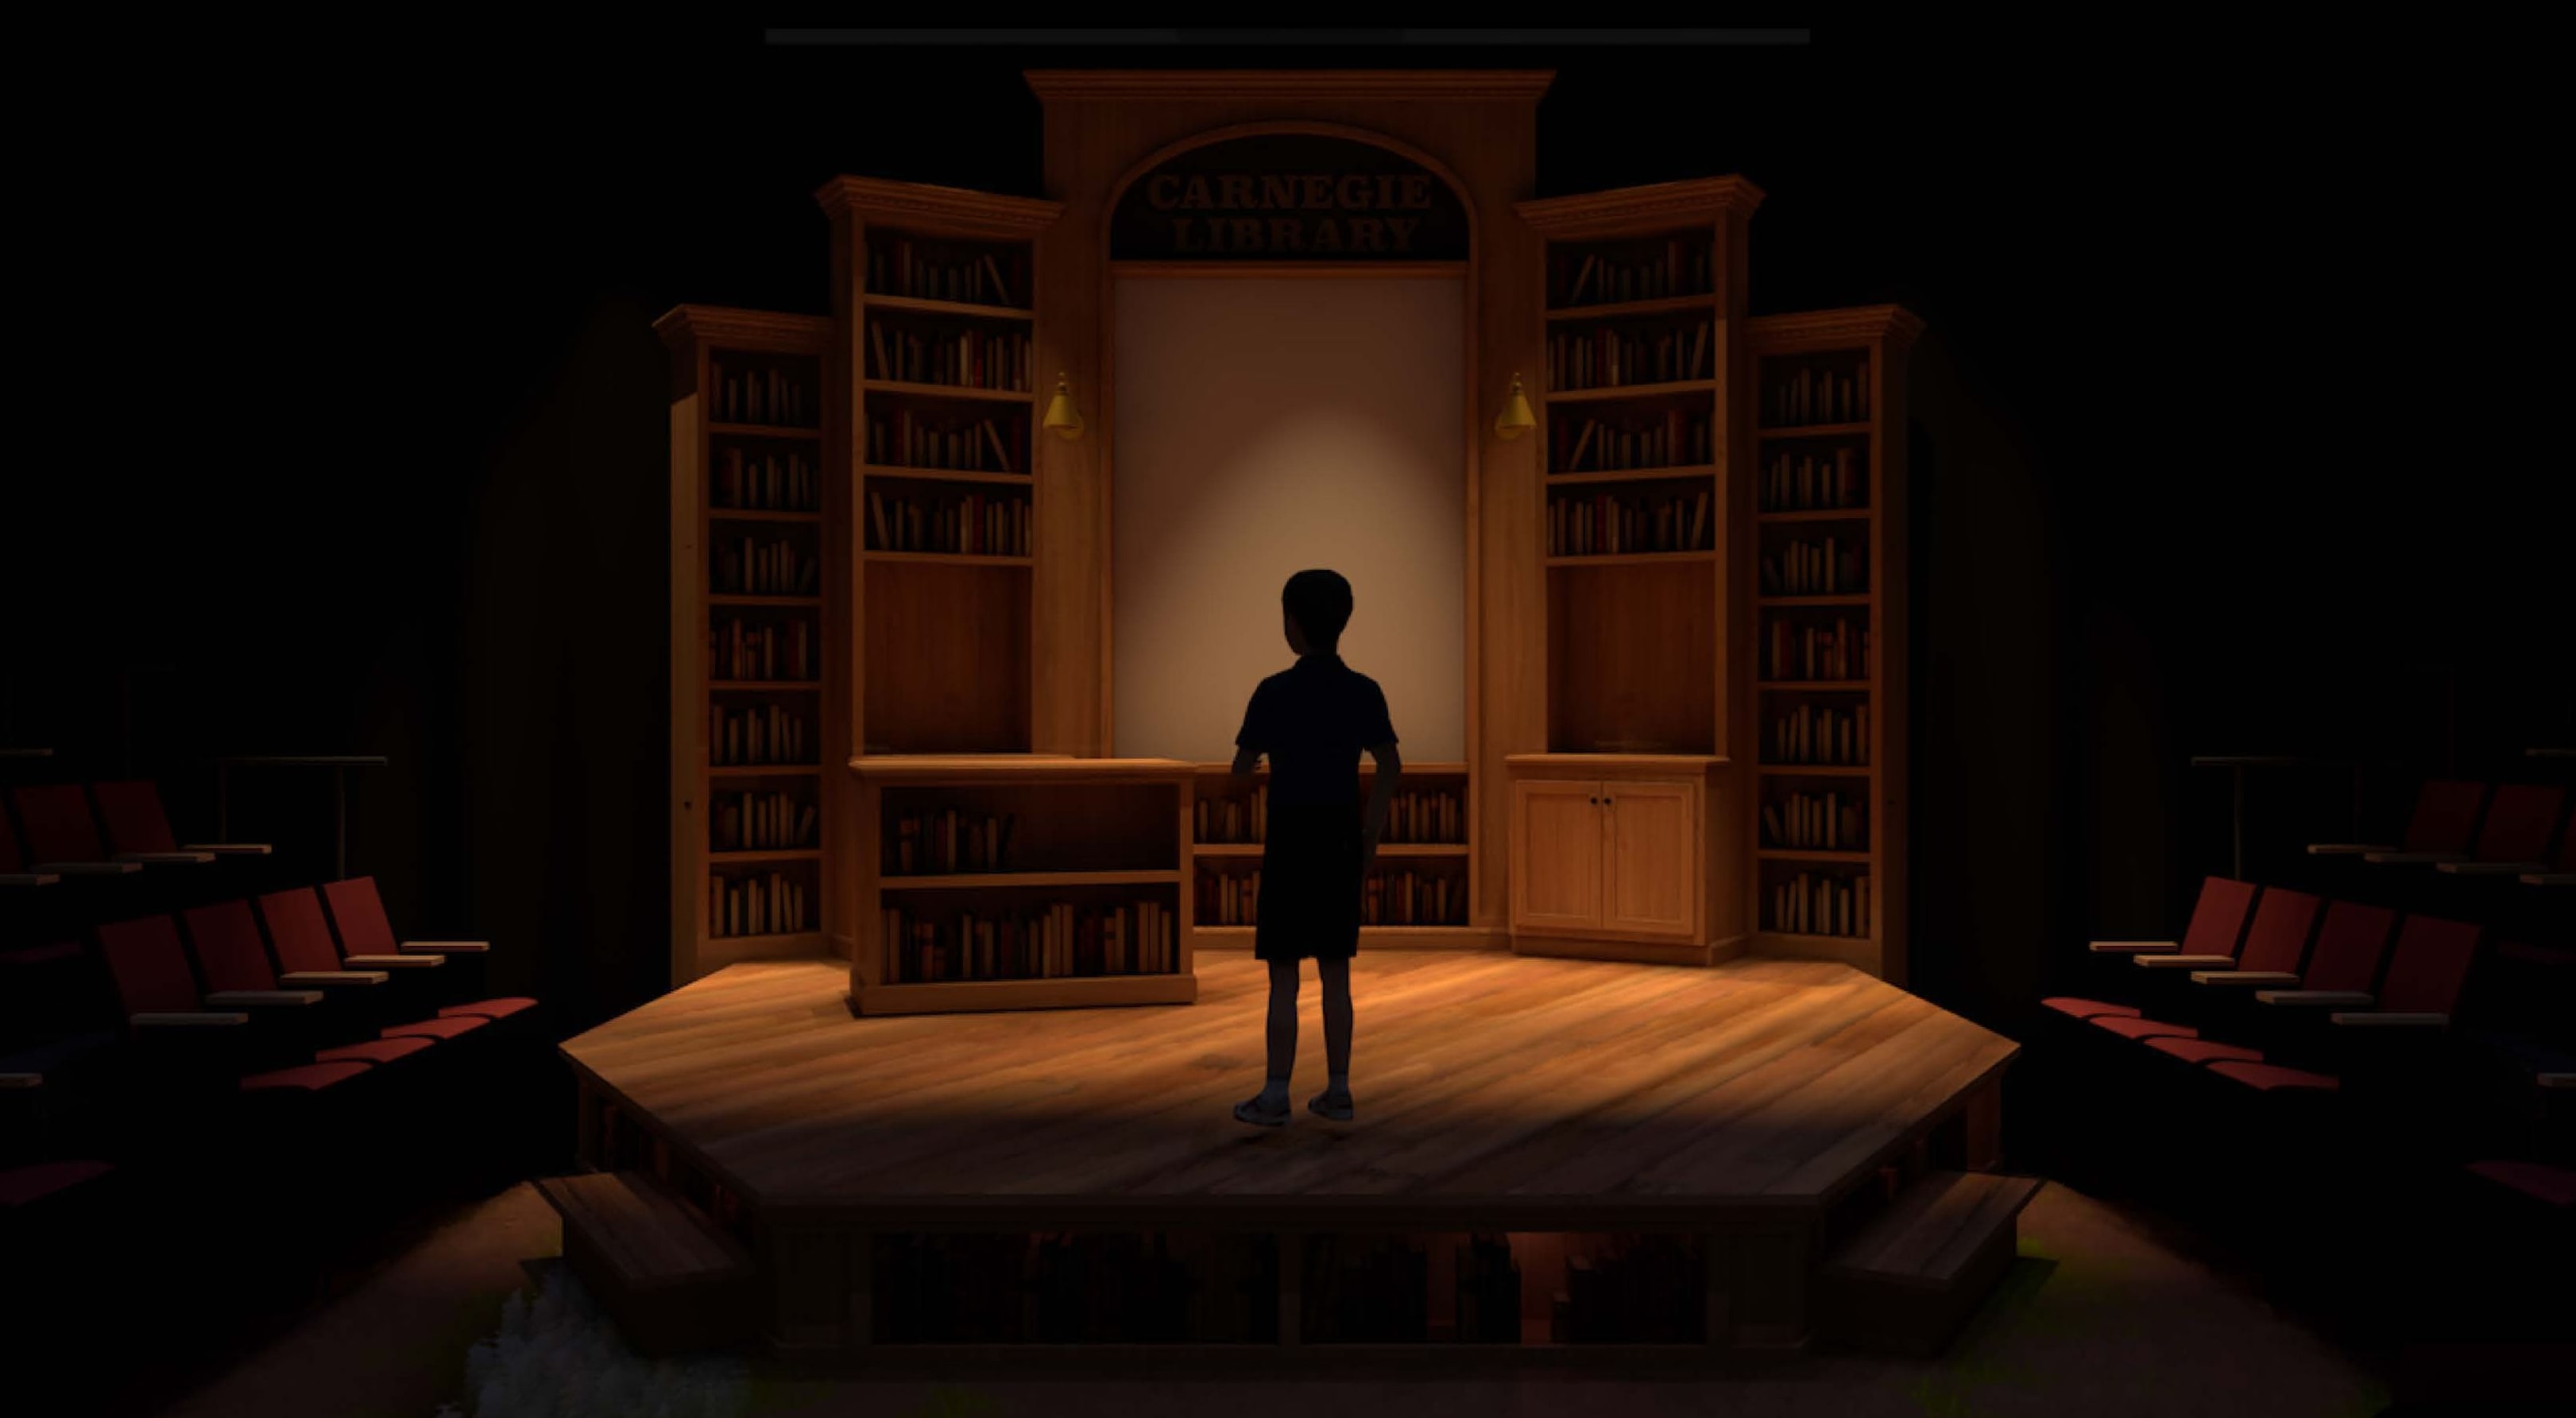
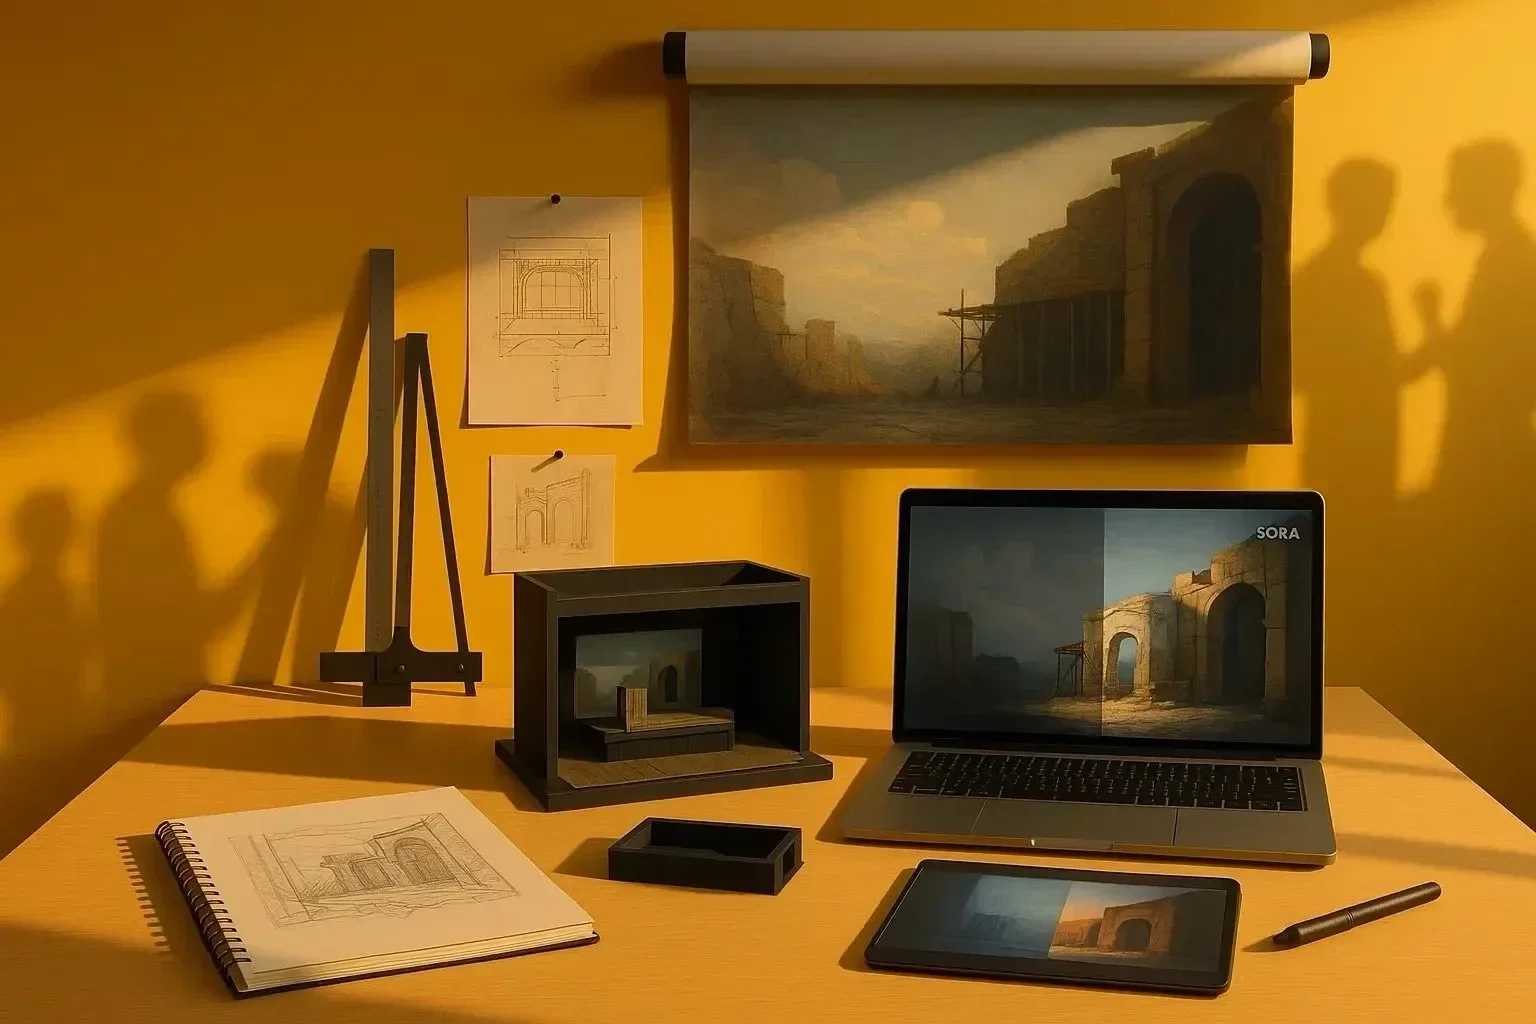
A rendering camera is a storytelling tool before it is a software object. It decides where the audience stands, what the image values, and how much of the scenic world is allowed into the frame.
In Vectorworks, the camera setup should be separated from the construction drawing logic. Documentation needs accuracy. Rendering needs a controlled view. Keeping those needs on a dedicated visualization layer makes the file easier to adjust without contaminating the drafting set.
Create a rendering layer
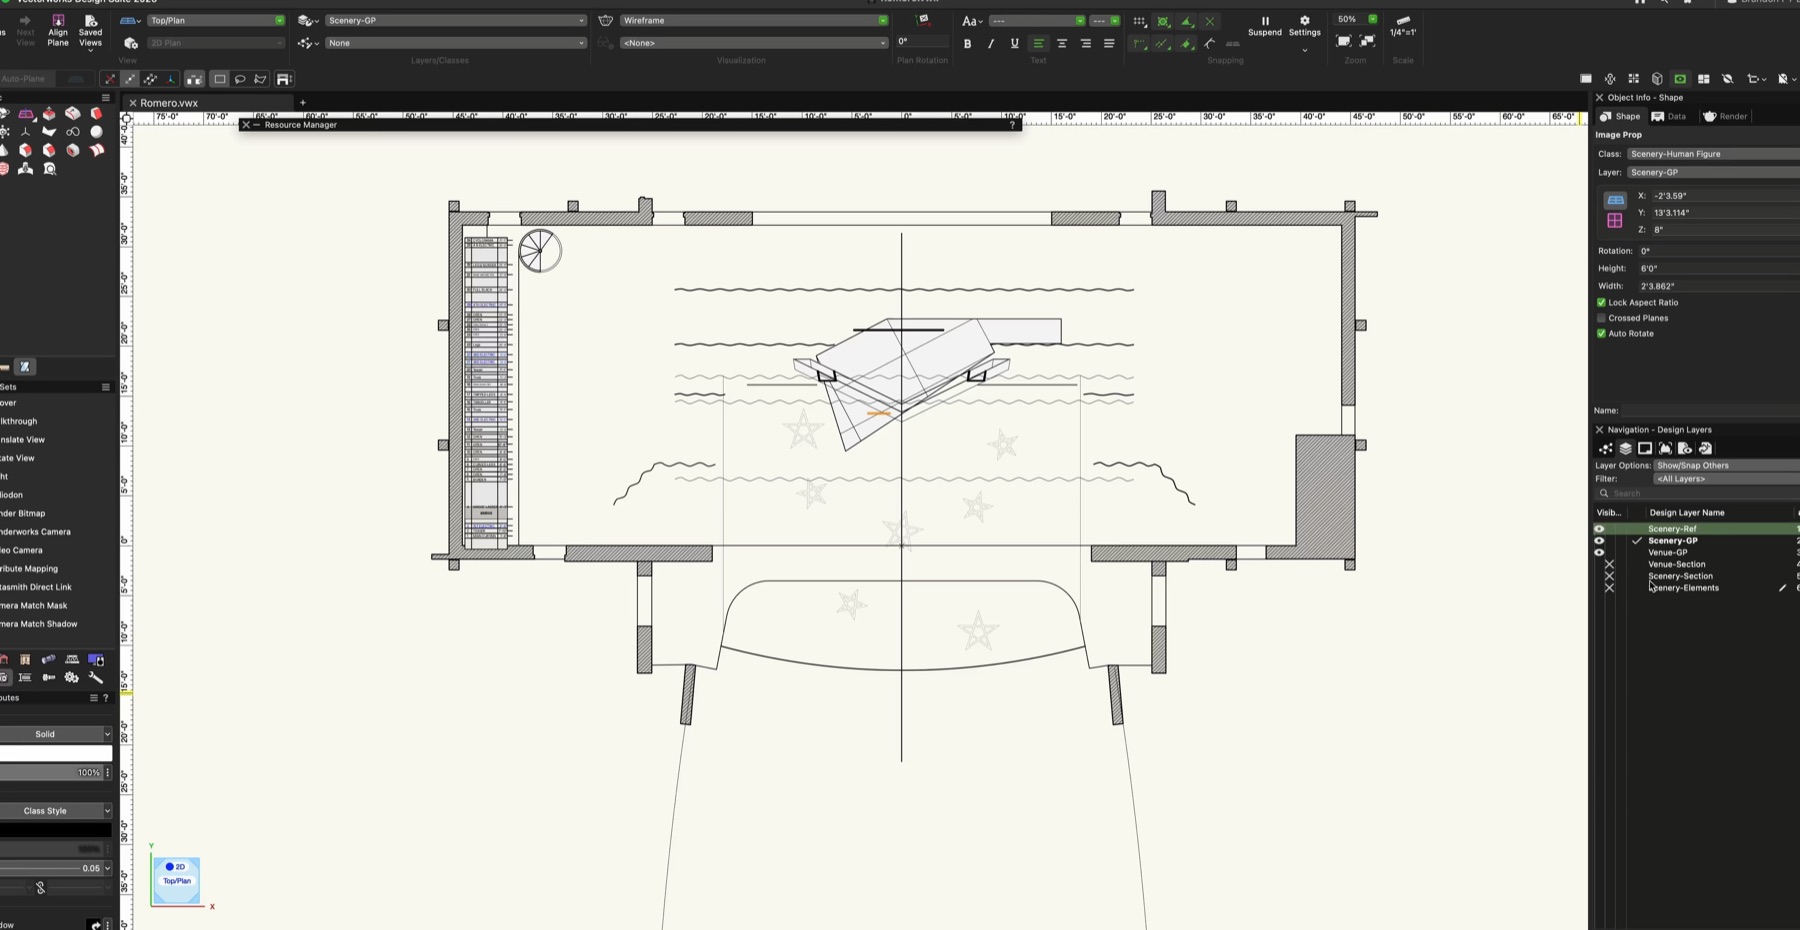
Begin with a dedicated layer for visualization elements. In the lecture file, that layer is named Scenic-LTG. The name is practical: cameras, lights, and rendering helpers can live there without interfering with the sheet layers, design layers, or construction drawings.
That separation also makes it easier to hide or revise rendering elements later. A camera should support the presentation image, not become accidental documentation.
Place the camera from the ground
Select the Video Camera tool from the Visualization palette and place it near the ground in the area where the viewer should be standing. For many scenic renderings, a video camera lens between 15mm and 55mm gives enough flexibility to land around an effective 35mm point of view.
After placing the camera, activate it from the Object Info palette and adjust the view until the composition feels intentional. This is the moment to think like a designer, not a technician: where does the eye enter the frame, what is cropped out, and what emotional distance does the image create?
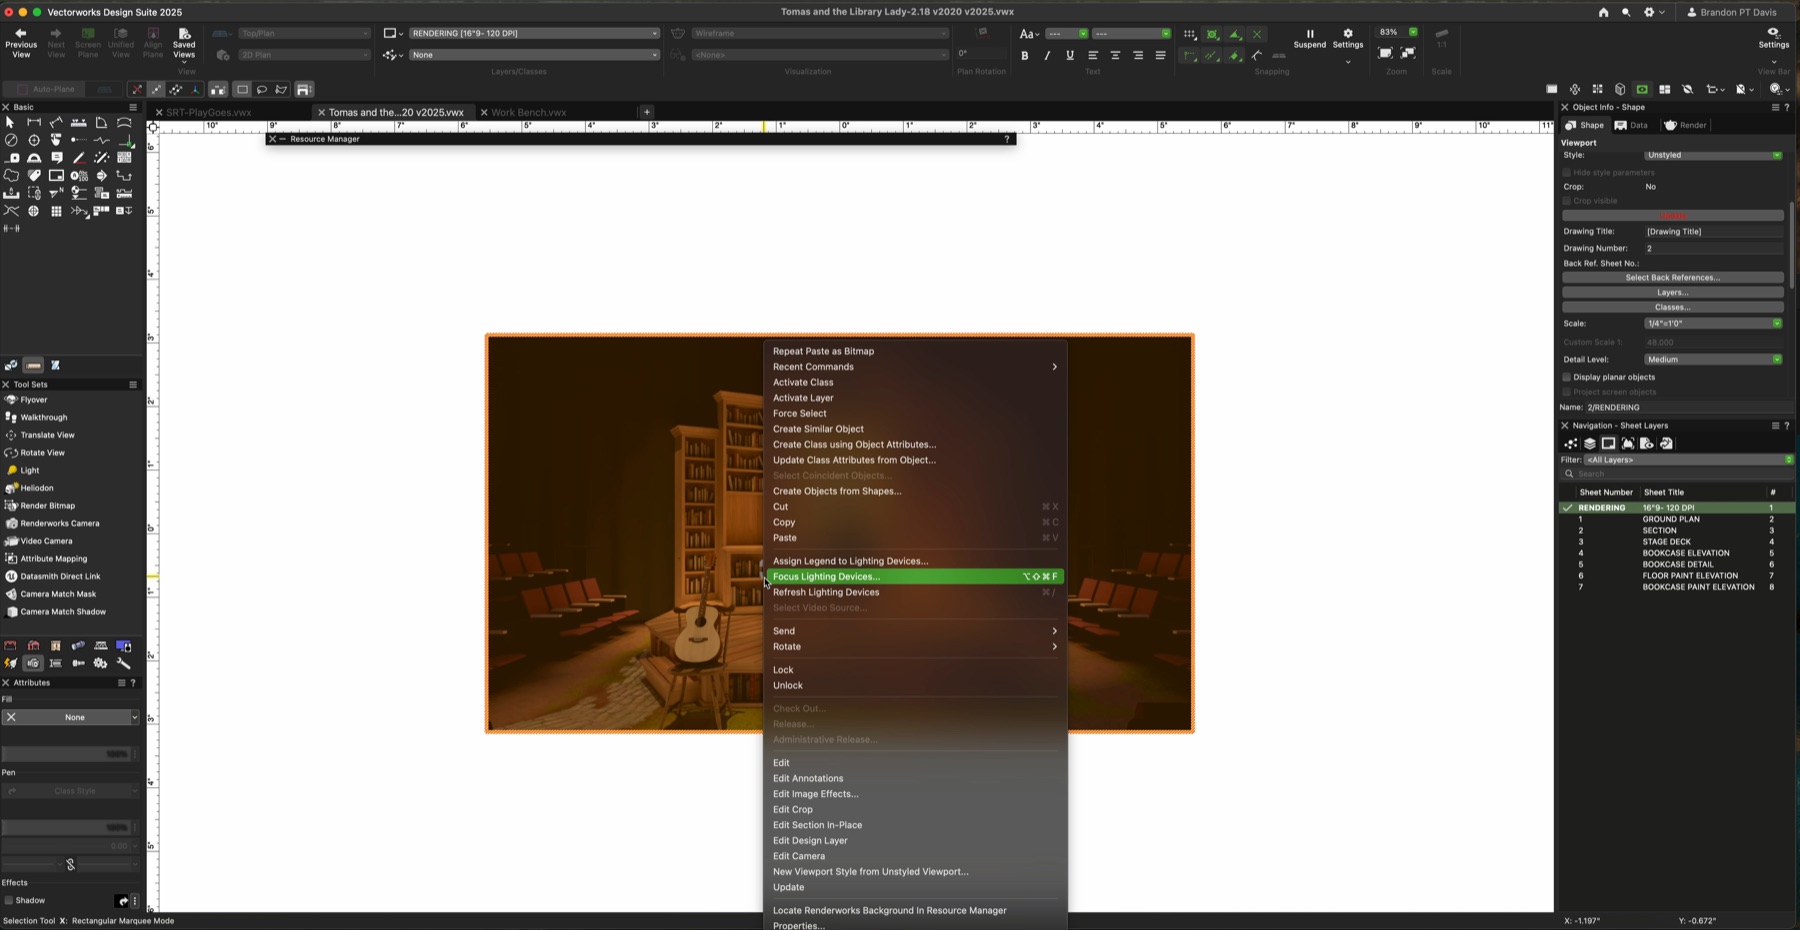
Turn the camera view into a viewport
Once the camera view is framed, create a viewport for the rendering. Naming matters here. A clear name such as R_1 | Rendering keeps the viewport readable when there are multiple images in progress.
For working renders, keep the scale modest. The lecture uses 1/4 inch equals 1 foot because it helps control rendering time while the image is still being tested. Large final output can come later, during publishing.
- Use a 2:3 aspect ratio when the rendering needs a strong presentation-card format.
- Create a custom page size when the image needs exact proportions.
- Uncheck Show Planar so the viewport does not display construction helpers that are not part of the rendering.
- Create a new viewport for each additional camera instead of constantly overwriting the same view.
The camera is where the rendering stops being a model screenshot and becomes a designed point of view.